Every App Extension requires an app, and Network Extensions are no exception. Before we jump into the nitty-gritty details of the packet tunnel itself, let me walk you through the app.
Introduction #
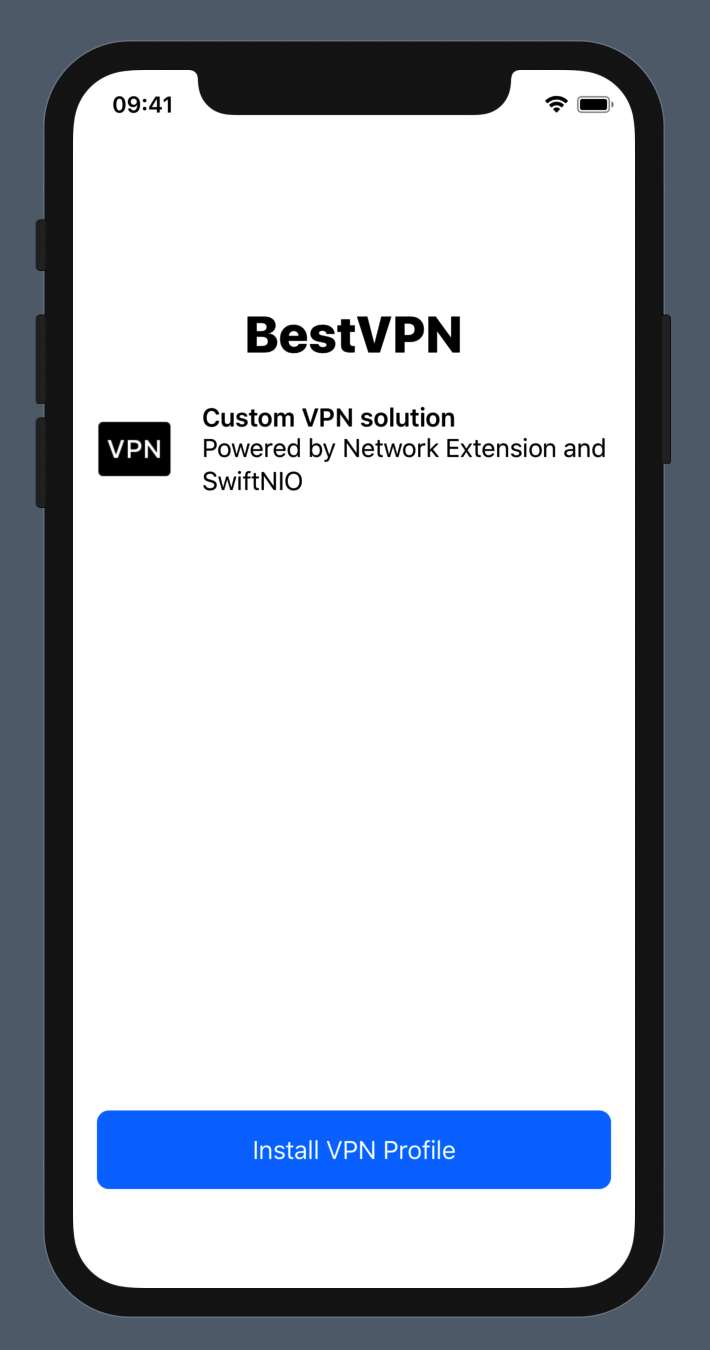
The app is not just a container for an extension. It is also going to serve as a way to install and manage the VPN configuration. Let’s call our service BestVPN.
There are going to be two primary screens:
- A Welcome screen with a button to install a VPN profile
- A Tunnel Details screen for managing the installed profile
I’m going to build the app using SwiftUI and share some of the details regarding Network Extensions.
The entire app source code is available at kean/VPN.
Entitlements #
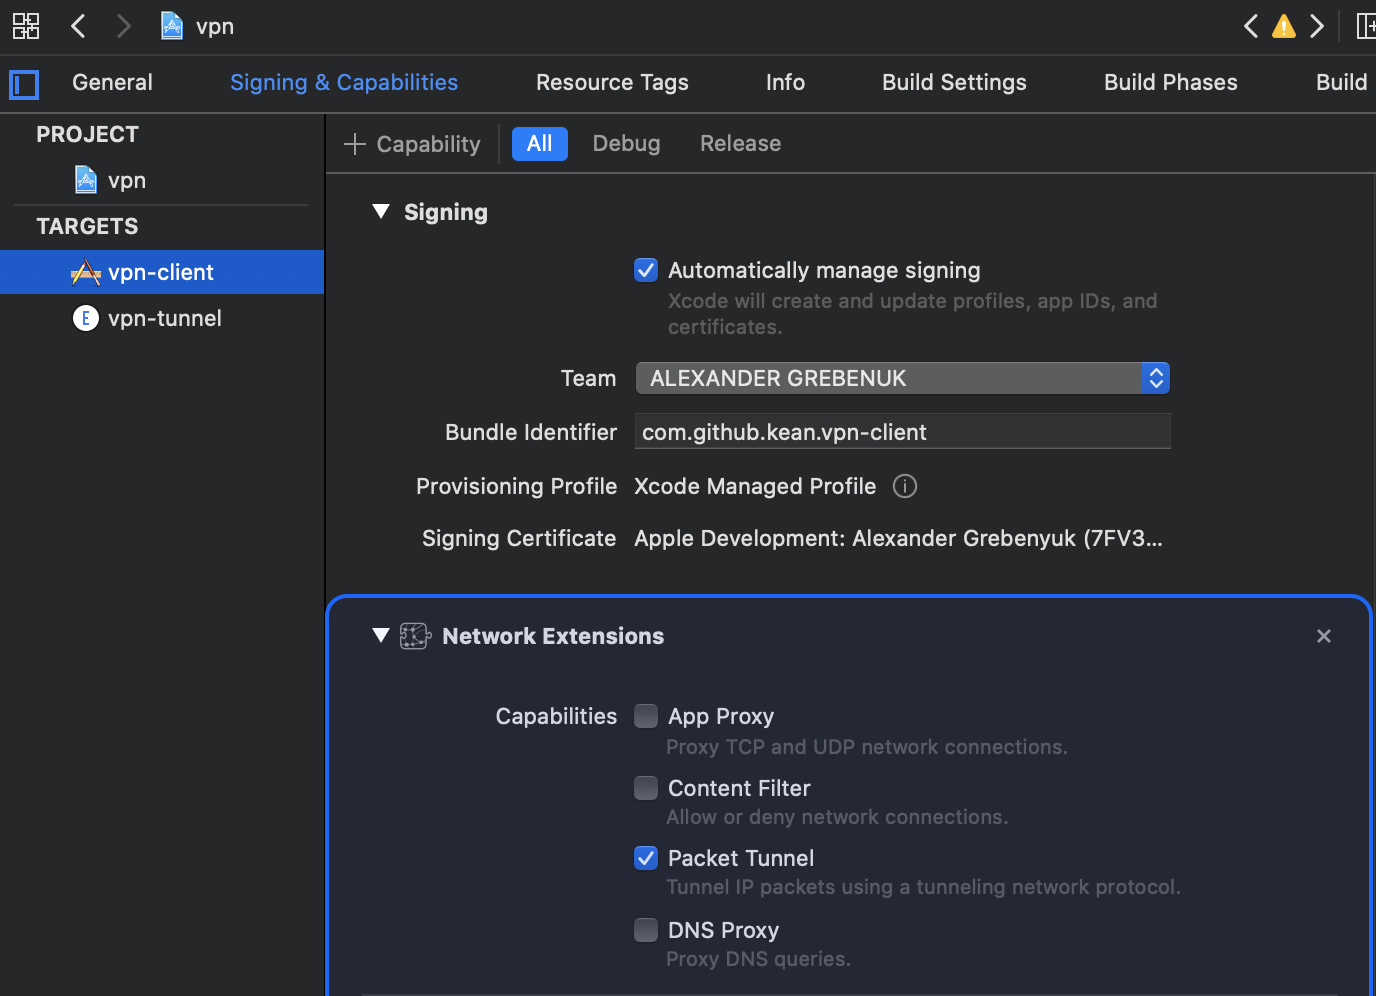
First, we are going to need an entitlement for our app:
- Network Extension: Packet Tunnel entitlement to tunnel IP packets to a remote network using any custom tunneling protocol using
NEPacketTunnelProvider
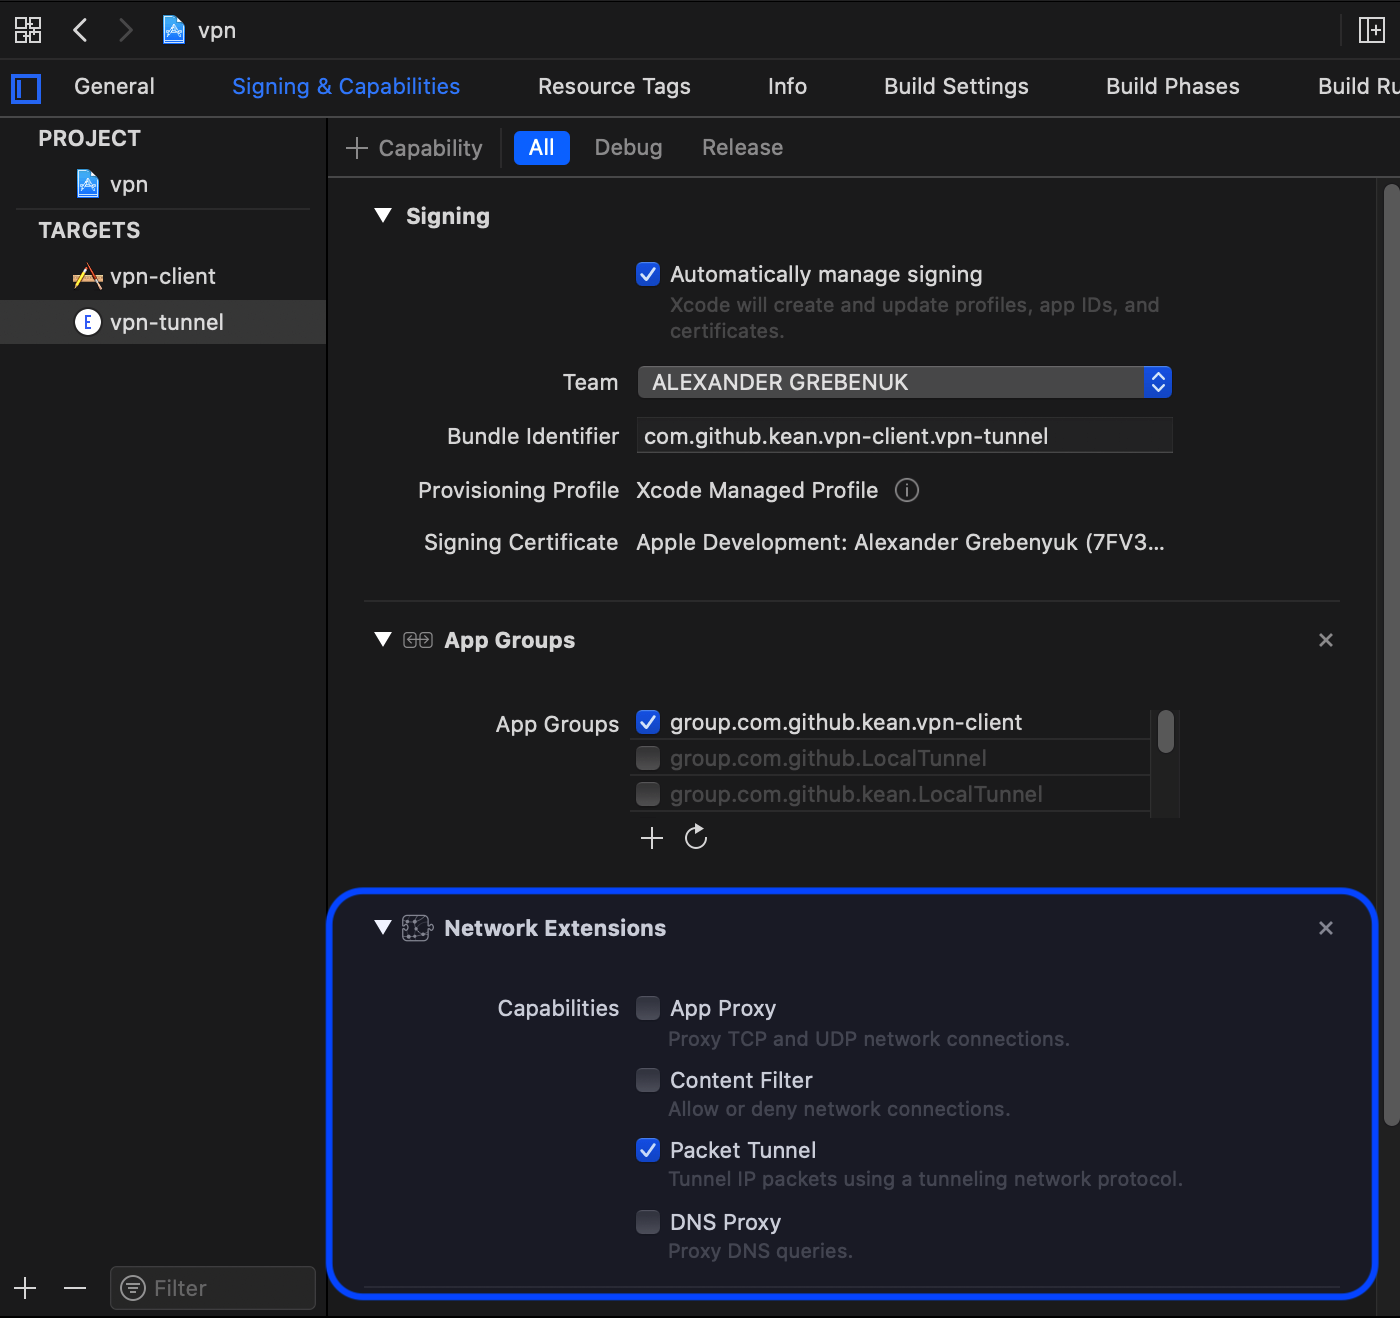
The easiest way to add entitlements is via Signing & Capabilities in Xcode.
One you go through the steps, you are going to see the following two entitlements appear in your apps’ entitlements list:
<key>com.apple.developer.networking.networkextension</key>
<array>
	<string>packet-tunnel-provider</string>
</array>
You don’t need a Personal VPN entitlement which allows apps to create and control a custom system VPN configuration using
NEVPNManager. The Packet Tunnel Provider entitlements are classified as enterprise VPNs and only require Network Extension entitlement.
If start interacting with Network Extension APIs and see the following error, most likely means that the entitlements are misconfigured:
Error Domain=NEConfigurationErrorDomain
Code=10 "permission denied"
UserInfo={NSLocalizedDescription=permission denied}
You must run the app on the physical device, Network Extensions are not supported in the iOS Simulator.
VPN Manager #
The primary interface for managing VPN configurations that use a custom VPN protocols is NETunnelProviderManager, which is a subclass of NEVPNManager.
You can use
NEVPNManagerwithout the tunnel provider to create and manage personal VPN configurations that use one of the built-in VPN protocols (IPsec or IKEv2).
The first thing that you want to do when your app starts is read the existing configuration.
NETunnelProviderManager.loadAllFromPreferences { managers, error in
    // Where managers: [NETunnelProviderManager]
}
This method reads all of the VPN configurations created by the calling app that have previously been saved to the Network Extension preferences. The completion closure gives you the list of “managers”, each represents a single saved VPN configuration.
In our case, there is only one configuration that the app manages. When the configuration is loaded, the RouterView decides which screen to show.
struct RouterView: View {
    @ObservedObject var service: VPNConfigurationService = .shared

    var body: some View {
        if !service.isStarted {
            // Splash is where I'm loading the configuration for the first time
            return AnyView(SplashView())
        }

        // When the initial configuration is loaded, I either display a Details
        // screen or a Welcome screen.
        if let tunnel = service.tunnel {
        	let model = TunnelViewModel(tunnel: tunnel)
            return AnyView(TunnelDetailsView(model: model))
        } else {
            return AnyView(WelcomeView())
        }
    }
}
Installing VPN Profile #
Creating and saving a VPN configuration is relatively easy. All you need to do is create and configure NETunnelProviderManager instance and then save it.
private func makeManager() -> NETunnelProviderManager {
    let manager = NETunnelProviderManager()
    manager.localizedDescription = "BestVPN"

    // Configure a VPN protocol to use a Packet Tunnel Provider
    let proto = NETunnelProviderProtocol()
    // This must match an app extension bundle identifier
    proto.providerBundleIdentifier = "com.github.kean.vpn-client.vpn-tunnel"
    // Replace with an actual VPN server address
    proto.serverAddress = "127.0.0.1:4009"
    // Pass additional information to the tunnel
    proto.providerConfiguration = [:]

    manager.protocolConfiguration = proto

    // Enable the manager by default
    manager.isEnabled = true

    return manager
}
In this sample we created a manager and configured its VPN protocol. Once you created an instance of NETunnelProviderManager, you can save it:
let manager = makeManager()
manager.saveToPreferences { error in
    if error == nil {
        // Success
    }
}
When saving an extension, I would sometimes encounter an issue where I would not be able to start a VPN tunnel right after saving it. I’m not the only one having this issue. A workaround seems to be to reload the manager using
loadFromPreferences()method right after saving it.
Apple Developer Forums are one of the best and only sources of information when debugging Network Extensions issues.
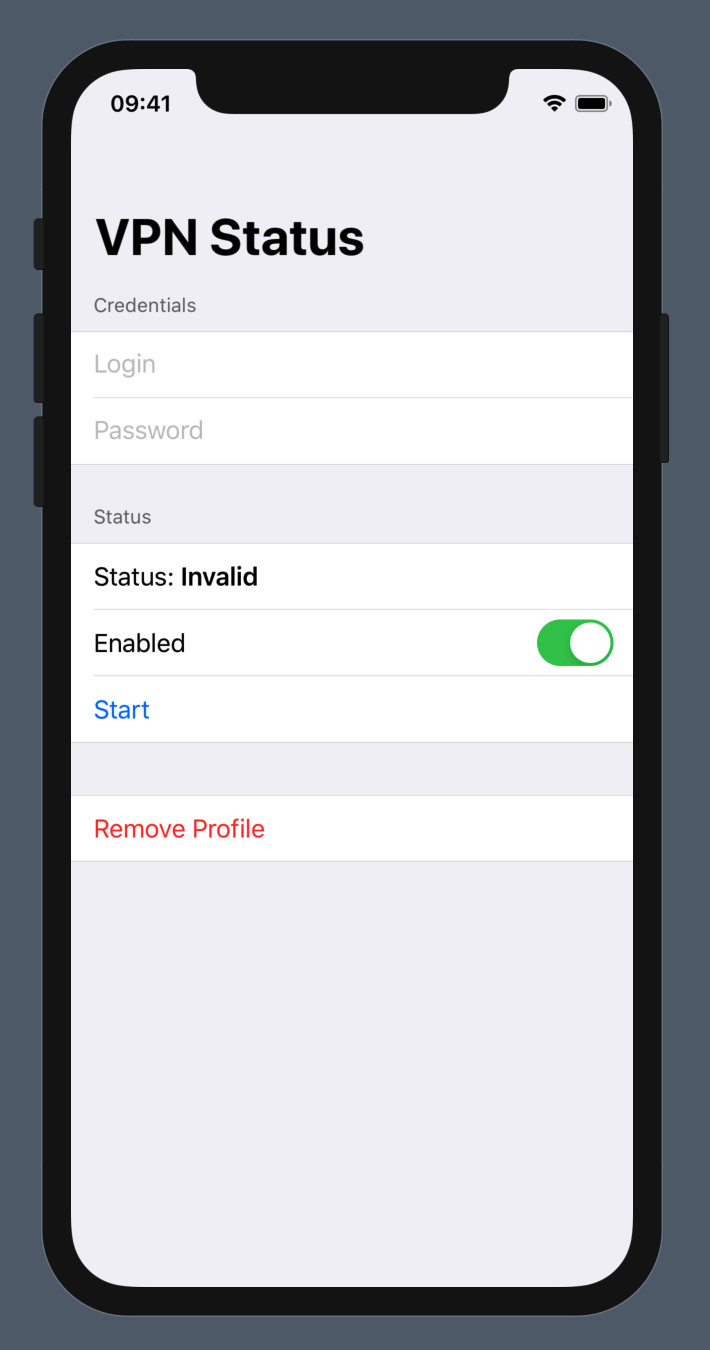
Tunnel Details
When the user taps "Install VPN Profile" button, a system alert is going appear and is going to guide the user through the process of installing the VPN profile. Once it's done, the system returns the user back to the app where RouterView presents a "Tunnel Details" screen from earlier.
RouterViewis a component responsible for top-level navigation in the BestVPN app.
In the next section, I'm going to cover the "Tunnel Details" screen and how it interact with the system settings in details.
Managing VPN #
Now that the profile is installed, the same NETunnelProviderManager instance can be used to update it and to manage the connection status.
Enabling Configuration #
Enabled VPN configurations have isEnabled flag set to true.
Configuration Model
Each
NETunnelProviderManagerinstance corresponds to a single VPN configuration stored in the Network Extension preferences. Multiple VPN configurations can be created and managed by creating multipleNETunnelProviderManagerinstances.Each VPN configuration is associated with the app that created it. The app’s view of the Network Extension preferences is limited to include only the configurations that were created by the app.
VPN configurations created using
NETunnelProviderManagerare classified as regular enterprise VPN configurations (as opposed to the Personal VPN configurations created by NEVPNManager). Only one enterprise VPN configuration can be enabled on the system at a time. If both a Personal VPN and an enterprise VPN are active on the system simultaneously, the enterprise VPN takes precedence, meaning that if the routes for the two VPNs conflict then the routes for the enterprise VPN will take precedence. The Personal VPN will remain active and connected while the enterprise VPN is active and connected, and any traffic that is routed to the Personal VPN and is not routed to the enterprise VPN will continue to traverse the Personal VPN.
To detect configuration changes, use NEVPNConfigurationChange notification.
final class TunnelDetailsViewModel: ObservableObject {
    @Published var isEnabled: Bool

    private var observers = [AnyObject]()

    init(tunnel: NETunnelProviderManager) {
    	self.isEnabled = tunnel.isEnabled

    	observers.append(NotificationCenter.default.addObserver(
            forName: .NEVPNConfigurationChange,
            object: tunnel,
            queue: .main) { [weak self] _ in
                self?.isEnabled = tunnel.isEnabled
        })
    }
}
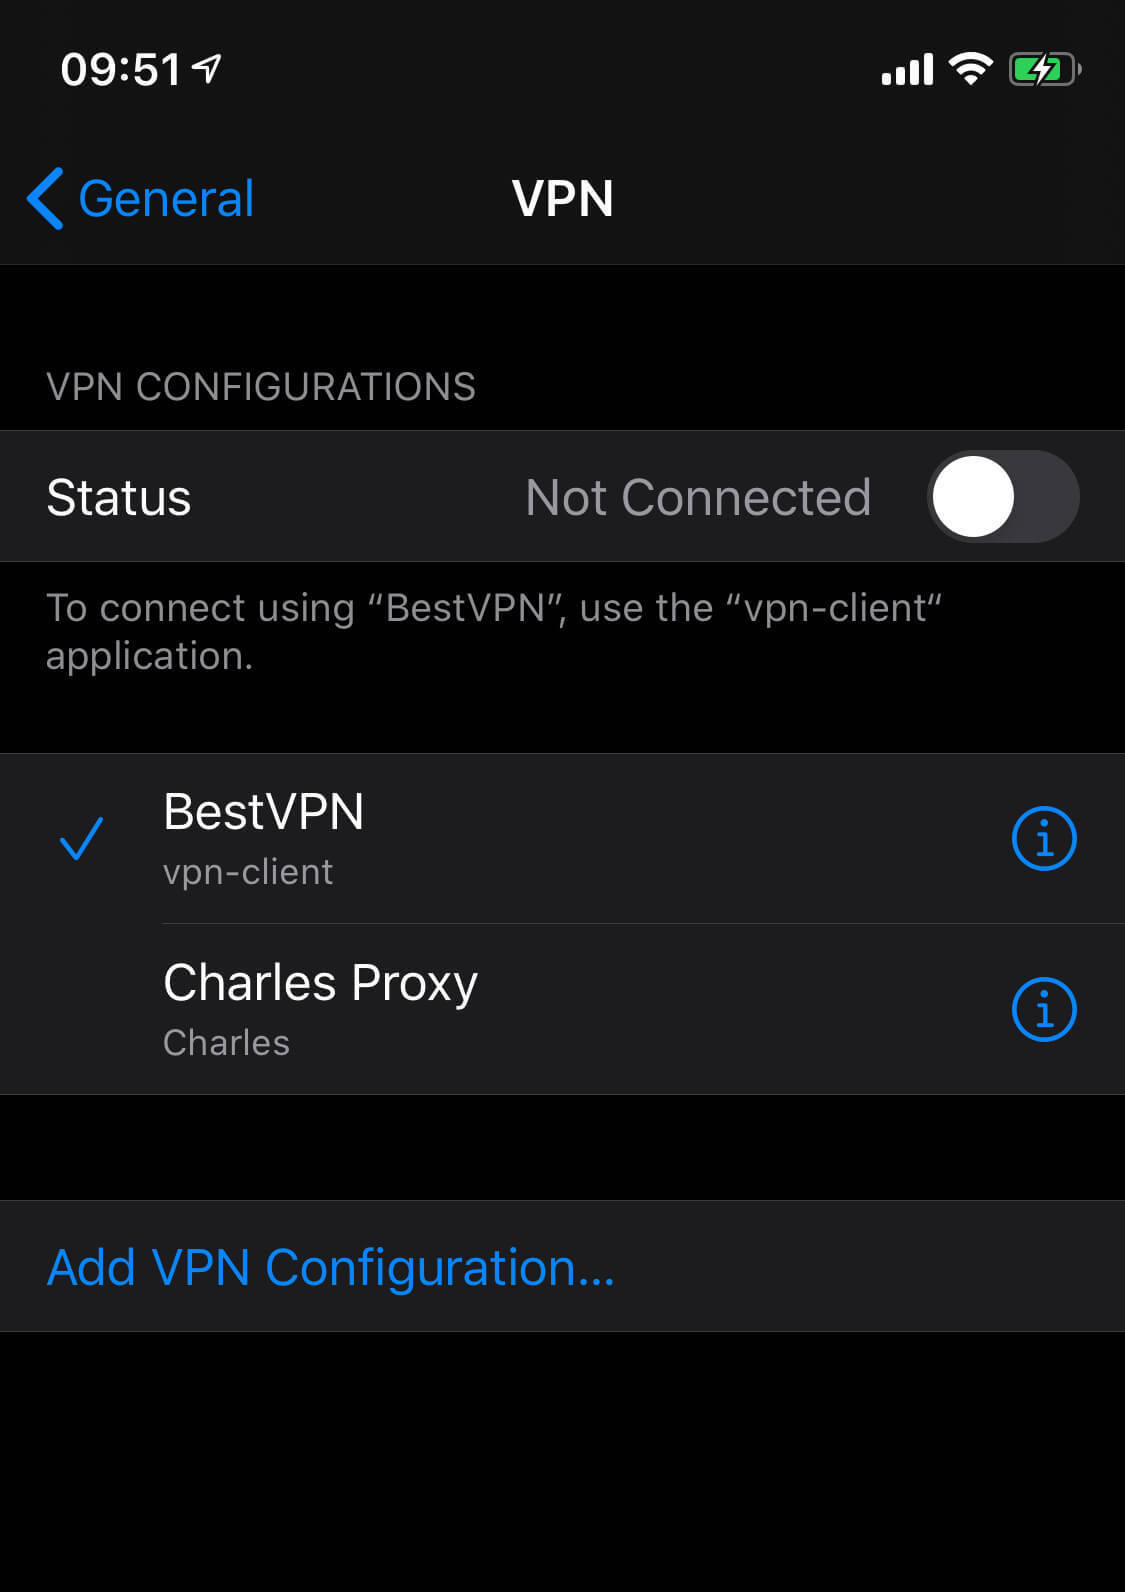
VPN Settings
If you go to Settings / General / VPN, you are going to see your VPN configuration registered there.
The settings screen allow user to switch between configurations (isEnabled), start/stop VPN, and even remove the configuration. This is why it is important to use .NEVPNConfigurationChange and .NEVPNStatusDidChange notification to update your app UI accordingly.
Managing Connection #
A manager has an associated NEVPNConnection object that is used to control the VPN tunnel specified by the VPN configuration.
You can use the connection object and .NEVPNStatusDidChange notification to keep track of the connection status.
Starting/Stopping Tunnel #
The tunnel can be started/stopped programmatically.
func buttonStartTapped() {
    do {
        try tunnel.connection.startVPNTunnel(options: [
            // Don't share with anyone!
            NEVPNConnectionStartOptionUsername: "kean",
            NEVPNConnectionStartOptionPassword: "password"
        ] as [String : NSObject])
    } catch {
        self.showError(
            title: "Failed to start VPN tunnel",
            message: error.localizedDescription
        )
    }
}

func buttonStopTapped() {
    tunnel.connection.stopVPNTunnel()
}
VPN On Demand #
VPN On Demand is one of the options of NETunnelProviderManager that allows the system to automatically start or stop a VPN connection based on various criteria. For example, you can use VPN On Demand to configure an iPhone to start a VPN connection when it’s on Wi-Fi and stop the connection when it’s on cellular. Or, you can start the VPN connection when an app tries to connect to a specific service that’s only available via VPN.
Here is an example how to configure a manager to always start a tunnel whenever it is needed:
let onDemandRule = NEOnDemandRuleConnect()
onDemandRule.interfaceTypeMatch = .any
manager.isOnDemandEnabled = true
manager.onDemandRules = [onDemandRule]
Creating Extension #
Now let’s quickly create a Packet Tunnel Provider extension itself to see if it actually works.
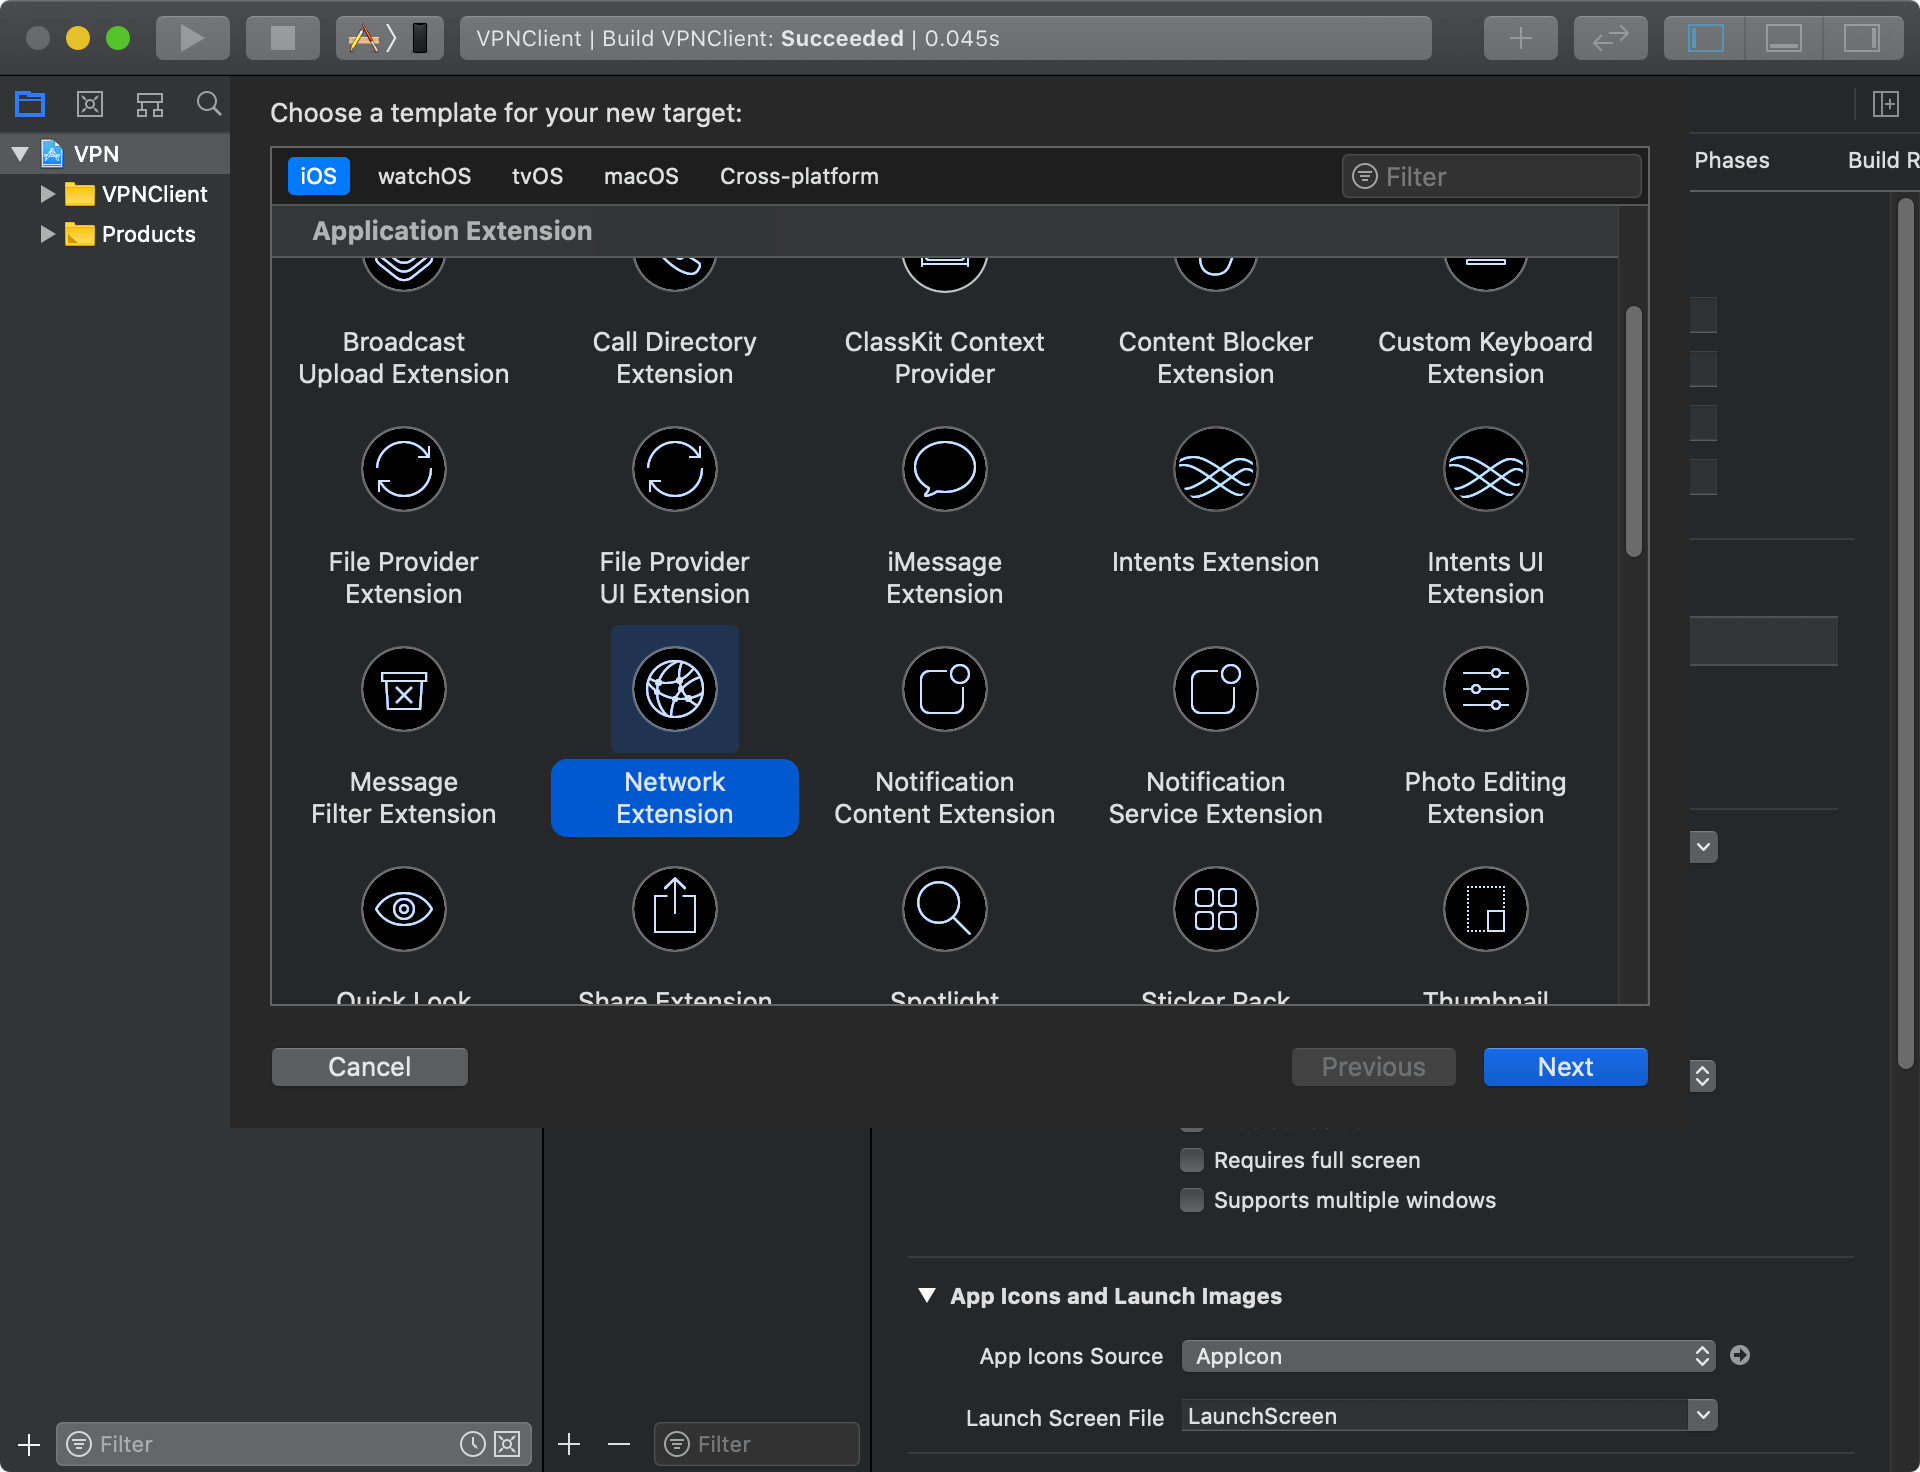
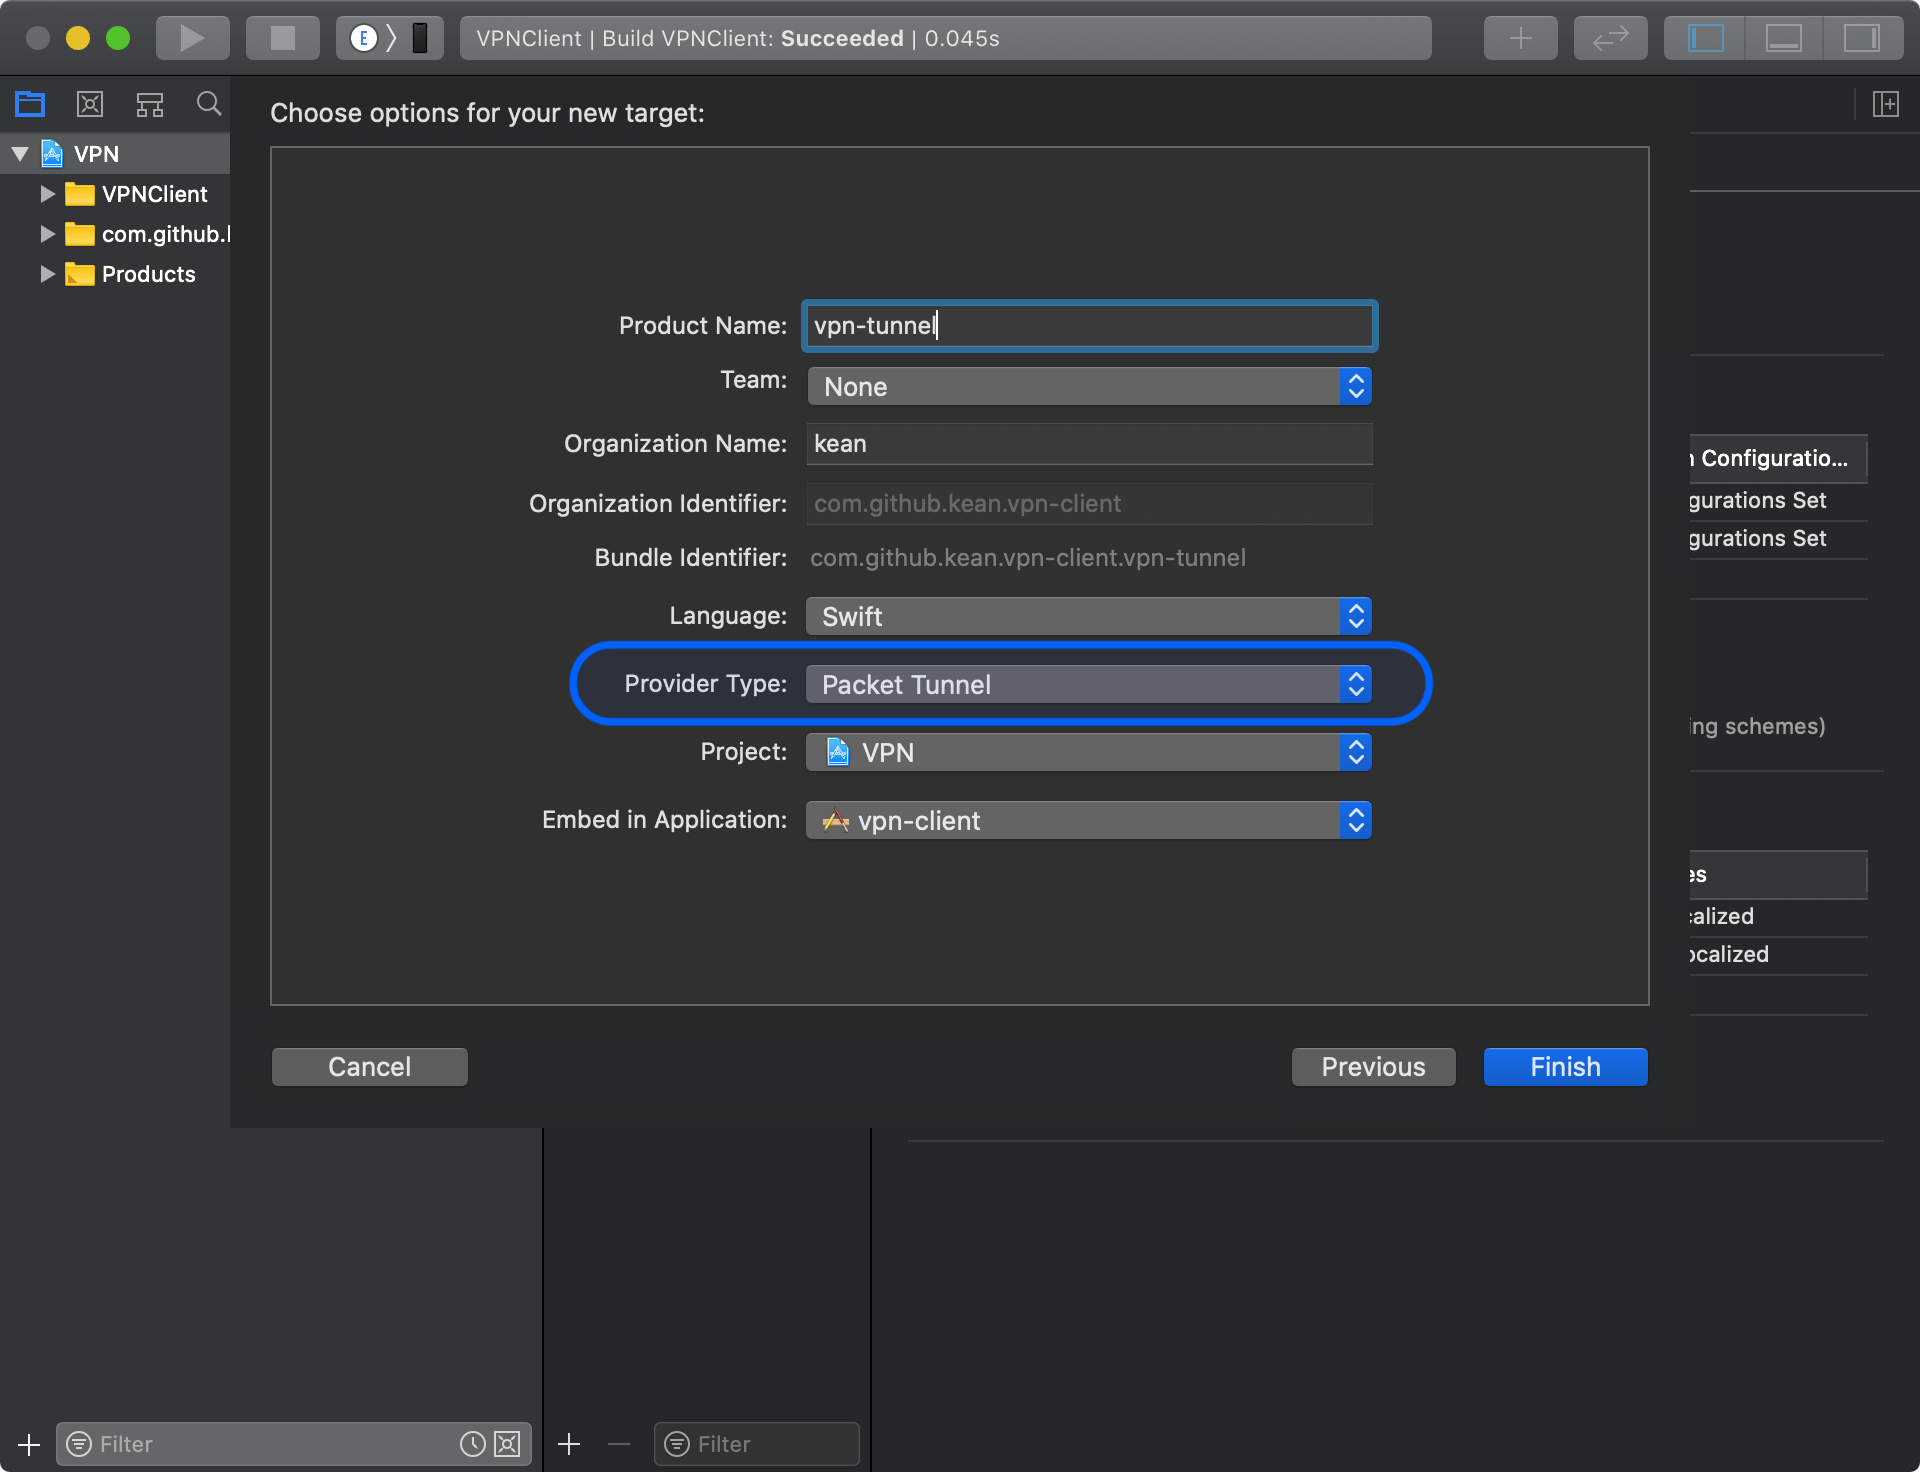
Xcode automatically creates a bundle identifier for an extensions in a form of
<app-bundle-identifier>.<extension-name>. An extension’s bundle identifier must always be prefixed with an app’s bundle identifier. If you change either later, make sure to update both to save yourself hours of debugging.
When the extension is created, you must always set up entitlement to match the app.
By default, Xcode creates an NEPacketTunnelProvider subclass automatically for you.
class PacketTunnelProvider: NEPacketTunnelProvider {

    override func startTunnel(
        options: [String : NSObject]?,
        completionHandler: @escaping (Error?) -> Void)
    {
        NSLog("Starting tunnel with options: \(options ?? [:])")
        // Add code here to start the process of connecting the tunnel.
    }
}
Don’t rename the
NEPacketTunnelProviderclass. If you do, make sure to updateInfo.plistfile with a new class name, otherwise the extension is going to start crashing on launch.

Now when you run the app on the device, and install the profile, it should automatically start the extension.
Debugging an extension is a bit tricky. When you start the app, Xcode automatically attaches the debugger to it. It is not going to happen with the extension. To attach a debugger to an extension, go to Debug / Attach to Process by PID or Name… and add the name of your extension.
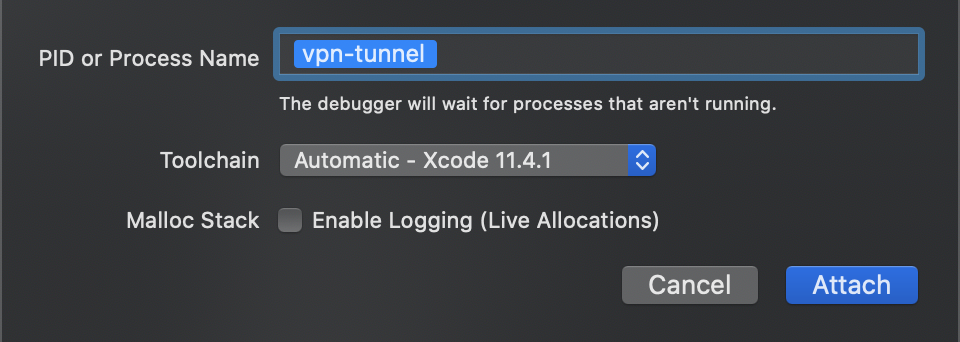
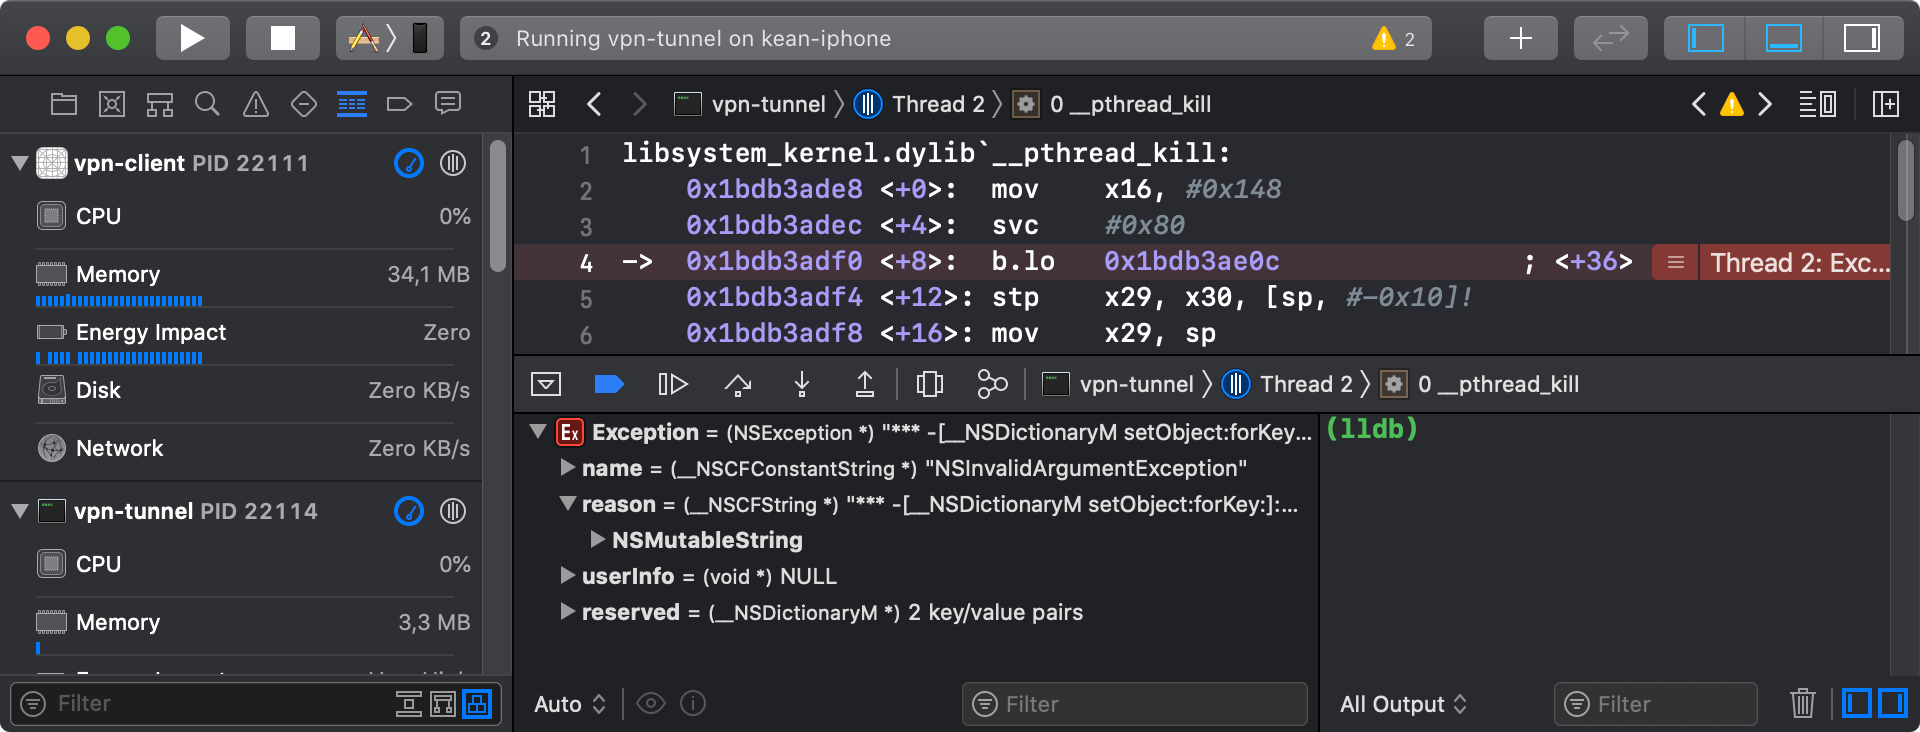
If the extension is already running, Xcode will attach the debugger to it. If it isn’t running, Xcode is going to wait until it starts running. Now when you open a Debug Navigator, you are going to see two processed instead of one (typical to iOS app development).

I encourage you to test whether you are able to attach the debug to the extension.
Troubleshooting Guide
App extensions are quite unforgiving and debugging them can become a nightmare. If you are not able to attach the debugger or the extension process crashes without reaching
PacketTunnelProvidergo through the following troubleshooting guide.
- Make sure both the app and the app extensions has Packet Tunnel Network Extensions entitlement
- An extension’s bundle identifier must always be prefixed with an app’s bundle identifier. If you change either later, make sure to update both to save yourself hours of debugging.
- An extension’s
Info.plistfile must contain correctNSExtensionPointIdentifierandNSExtensionPrincipalClassvalues. If you changed the name of theNEPacketTunnelProvidersubclass, make sure to updateNSExtensionPrincipalClassto reflect it.
Congratulations, if you reached this point, you know how to install a VPN configuration, enable it, start a VPN tunnel, and attach a debugger to it. This a great progress! In the next part, I’m going to cover the Packet Tunnel itself.